Medieval Dynasty Mine Locations Guide – Best Spots For Mining
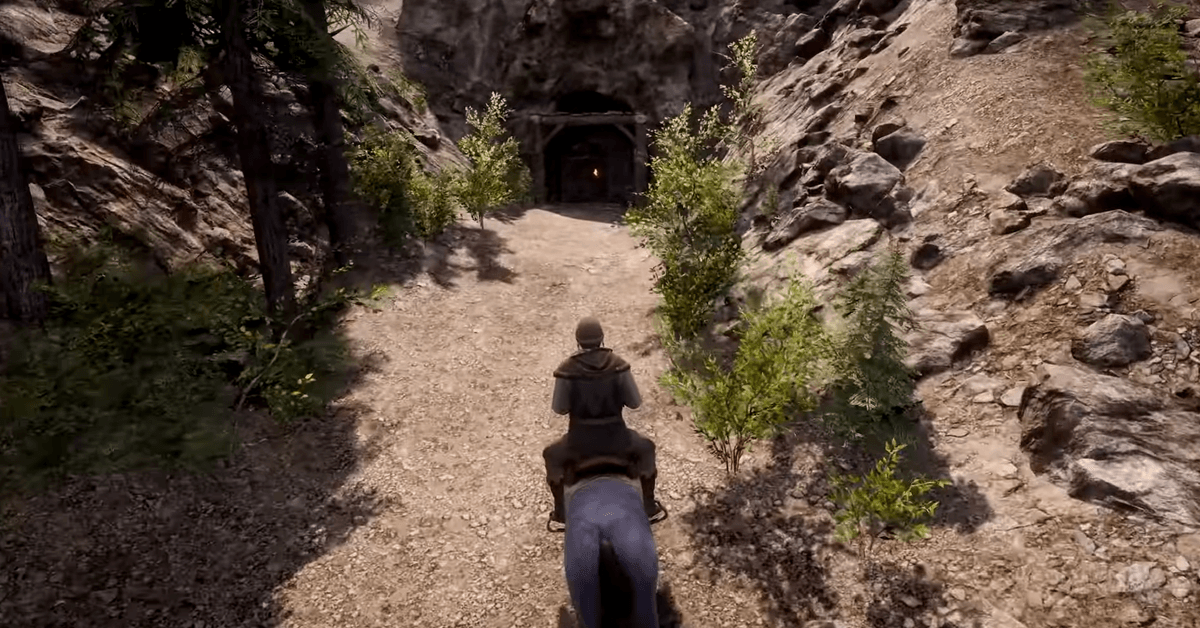
Crafting is the primary source of your survival in Medieval Dynasty, and you need the right items to do that. Mines are your best friend when it comes to mining, and these are found within the caves. Plenty of useful items are found in the mines that are required for crafting. If you are unable to find these caves, then this guide will help you out in reaching them. Mining Caves Locations in Medieval Dynasty The mines are not directly accessible in Medieval Dynasty, you have to go deep down in the caves. These are mostly located in the mountainous area rather than in the open grounds. The mines are full of ore nodes, and mining them is not easy, though it is quite rewarding. You can collect lots of Iron, Copper, Tin, Salt, and Stone. Chances are that you may see the respawns of ore nodes once you have fully mined them. So, you have to try it out on your own at different spots and see if they come back. However, there are enough ore nodes in these mines that can fulfill your requirements. 1. Cave Mine Near Lesnica We have our first cave located close to Lesnica, heading south of it will show you the entrance. While heading south, you will come across a crossroads area. From there, just make a sharp right, and you are at the cave entrance. 2. Cave Near Jezerica There is a cave in the area close to Jezerica, but you have to follow the path that is between Gostovia and Hornica. When you reach close to Hornica, just turn towards the western side on the same route, and you will end up at the entrance. 3. Cave Between Gostovia and Hornica Now, the third one is located in between Gostivia and Hornica, just a little to the western side. You can start from either Gstovia or Hornica and follow the route that ends up in the middle of both regions, as marked in the picture. There will be an entrance to the cave. 4. Cave Near Hornica Here is the fourth cave, which is near Hornica in the eastern area. You can begin from Hornica and move along the path that takes you to the east. Head towards the spot we have marked on the map, and you will be at the entrance. 5. Cave Near Branica This one is pretty easy to find since it is quite close to Barnica. You have to begin your journey from Barnica and follow the path to the north. It will take you to the mountains. Now, you just have to find the entrance of the cave, which is a bit towards the east side. How to Mine Ores To mine ore nodes, you simply need the pickaxe. Place it in your inventory and head to any of the mines in the caves we have mentioned above. Now, look for the ores that you want to mine and start hitting them. Each ore has a capacity of 100, which gets lowered as you mine it. The mined material will be automatically collected in your inventory. One thing is important here, your pickaxe has a life, which means it will break after some usage, and you will have to bring in a new one. So, it is recommended that you keep multiple of them in inventory when heading to a mine.