Complete Palia Badruu Blues Quest Guide
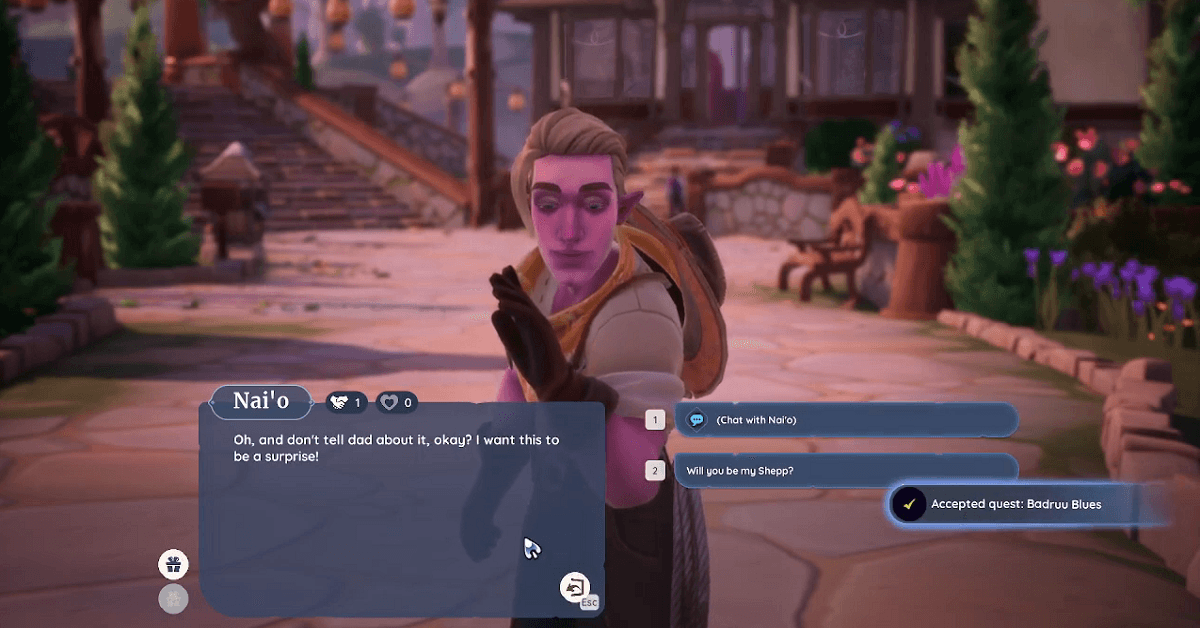
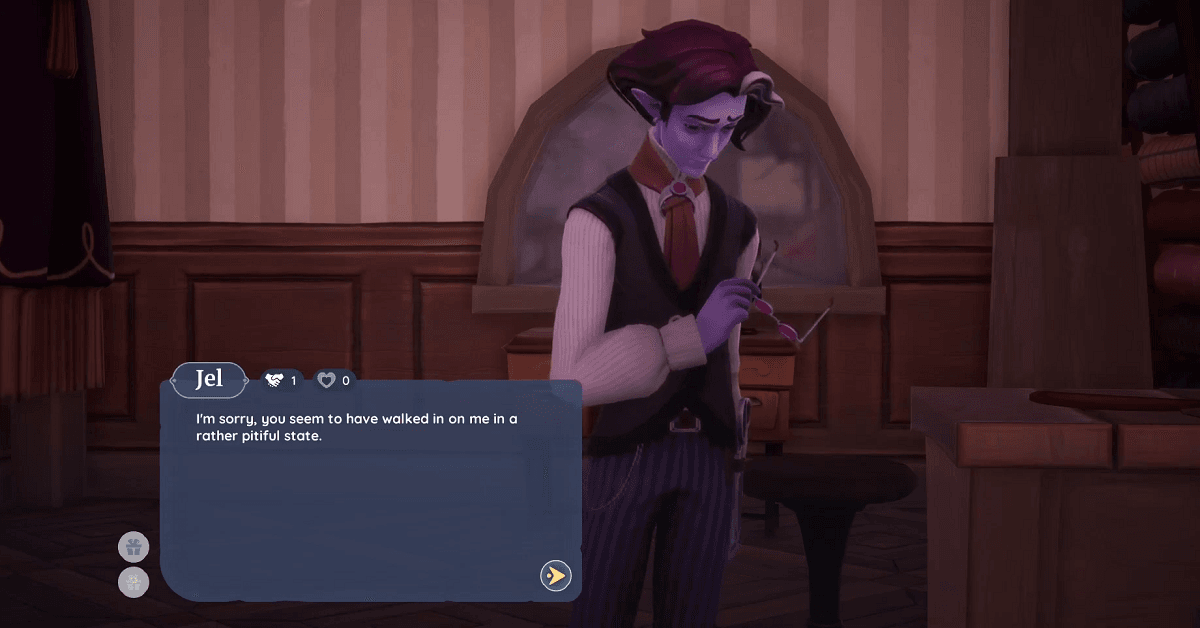
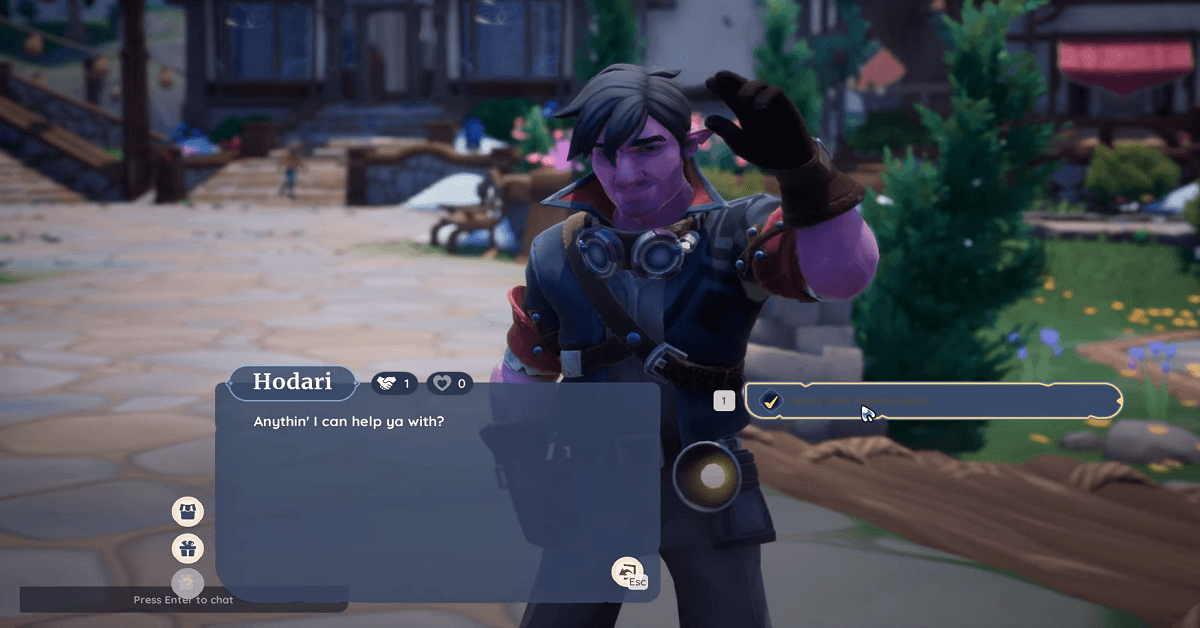
The Palia Badruu Blues quest delivers one of the game’s most heartwarming family stories, challenging you to help Nai’o cheer up his father by crafting a new lute to replace the treasured instrument that was destroyed. This simple quest is quite easy, and you can also complete it in no time if you know the exact steps. Just gather the required stuff and that old broken lute after that, ask Nai’o to make a new lute, and deliver it to Badruu. That’s it!! Like many other quests in Palia, such as Hunger Pains and Silver Winging It, this Badruu Blues quest is also a similar one. But comparatively, this one is quite a short quest; you just need to grab some stuff and repair the lute. How to Complete Badruu Blues Quest in Palia Discovering Badruu’s Melancholy Approach Nai’o to learn about his father’s uncharacteristic sadness. Speak with Nai’o at the Daiya Family Farm or around Kilima Village, listen to his concerns about Badruu’s changed behavior, learn about Badruu’s lost passion for music, and accept the quest to help restore his father’s spirits. Gathering Materials for the New Lute Gather materials for a new lute! Nai’o needs your help collecting the specific resources required to craft a proper replacement instrument. Required materials: Heartwood can be found in Bahari Bay by chopping Fir trees. This premium lumber provides the quality needed for a musical instrument worthy of Badruu’s talent. Travel to Bahari Bay where Fir trees grow abundantly, equip your axe and locate large Fir trees, chop down the trees systematically across the region, collect the Heartwood when it drops from harvested trees, and gather enough to meet Nai’o’s requirements. Fir trees are scattered throughout Bahari Bay, with concentrations in forested areas and along the region’s interior sections away from beaches. Silk Thread can be gathered by catching bugs with Epic rarity. This represents the quest’s most challenging material requirement, testing your bug-catching skills. The bugs that drop Silk Thread must be caught using smoke bombs, which the recipe can be purchased from Auni. Depending on the rarity, rare bugs can drop a maximum of seven Silk Threads, whilst epic-rarity bugs can provide up to 14 Silk Threads. Delivering Materials to Nai’o Return to Nai’o and hand him the materials. Once you’ve gathered both Heartwood and sufficient Silk Thread, bring these resources back to Nai’o at the Daiya Family Farm. Finding the Broken Lute He will then ask you to find Badruu’s old lute to use as reference. The broken original instrument provides the template Nai’o needs to craft an accurate replacement. Enter the Daiya Family Farm building, navigate behind the staircase or use the side entrance, locate the Broken Lute in its storage location, collect the instrument carefully, and note its condition, showing why Badruu stopped playing. Rushing Back to Nai’o Return to Nai’o with the Broken Lute so he can use it as a reference for crafting the replacement instrument with proper dimensions and specifications. He will then whip up a New Lute! Using the materials you gathered and the broken lute as a reference, Nai’o demonstrates his craftsmanship by creating a beautiful new instrument. Nai’o’s skill at creating this replacement lute showcases the talent he’s developed, far beyond his early whittling days when his carvings were less refined. Presenting the Gift to Badruu Locate Badruu at the Daiya Family Farm or in his gardens around Kilima Village for the touching gift presentation. Surprised that they and Nai’o had been conspiring to produce a new lute for him, Badruu can’t play music on this lute as he believes it “belongs in a museum,” but he thanks them for the thoughtful gift. “I’ll be a chapaa’s uncle… is that what you and Nai’o were conspiring about? I was wondering where my old one went. I thought a particularly musical ghost stole it!” Quest Rewards Completing the quest will get you the following items: FAQs What friendship level do I need with Badruu for this quest? You need to reach Friendship Level 2: Helpful Neighbour with Badruu before Nai’o will initiate this quest. Where exactly is the Broken Lute located? The Broken Lute is inside the Daiya Family Farm behind the staircase, also accessible from the side entrance beside the kitchen. What materials do I need to gather? You need Heartwood (from chopping Fir trees in Bahari Bay) and Silk Thread (from catching rare/epic-rarity bugs with smoke bombs). How many Silk Threads are required? The quest doesn’t specify an exact number, but Nai’o will indicate when you’ve gathered sufficient materials for the lute construction. The Palia Badruu Blues quest transforms a simple crafting task into a profound meditation on dreams deferred, family sacrifices, and the bittersweet reality that some chapters of life close permanently even when we try to reopen them with love and thoughtfulness.