GamersPlan

Palia Look to the Sky Quest – Full Guide

palia look to the sky quest

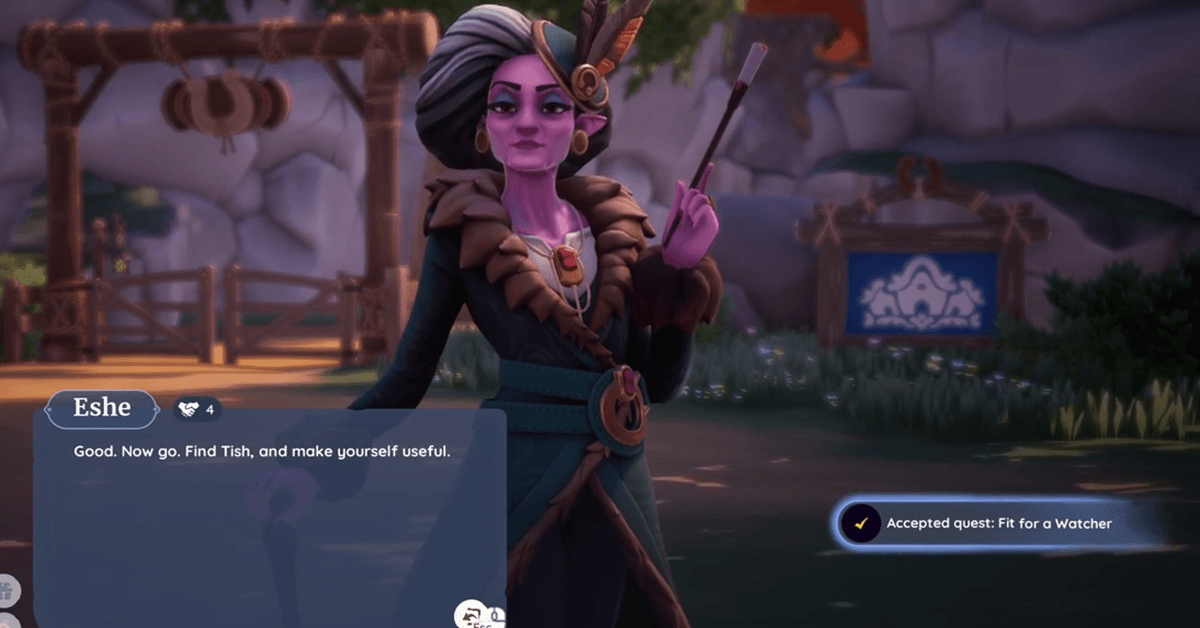
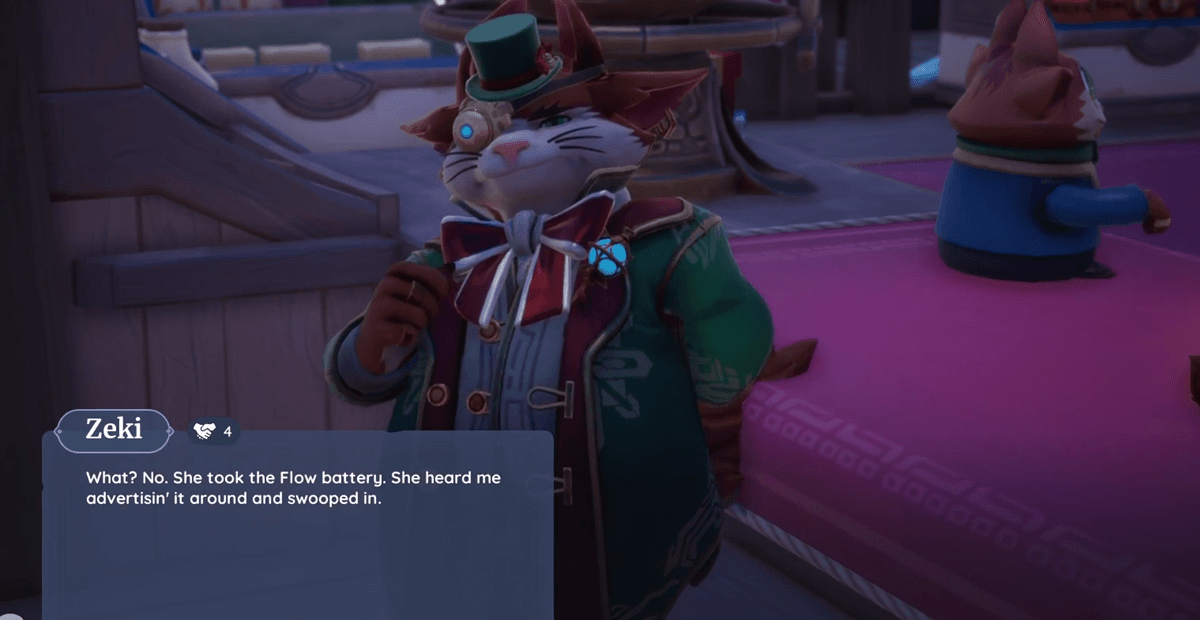
The Palia Look to the Sky quest was not a simple quest for me, because Zeki’s timing requirements are absolutely mental, and nobody explains the party mechanics properly. You might also be facing the same things, like trying to figure out when exactly to talk to Zeki, right? Or might have made it to the part, but can’t work out how to distract Eshe without making a complete hash of it. If that’s the case, then you are not alone. This quest involves sneaking about at a party and “borrowing” Eshe’s master key, which sounds straightforward but has more moving parts than you’d think. Let me walk you through it properly. What’s The Real Story Behind Look to the Sky Quest? This is a main story quest that comes after you’ve completed Echoes of the Unknown. Basically, there’s a new temple that’s been discovered, and you need a Flow battery from Zeki to get inside the first door. Problem is, Eshe’s got the Flow battery locked up tight at City Hall. So Zeki’s brilliant plan is to wait for her anniversary party and “liberate” the master key while she’s distracted. Sounds like a recipe for disaster, doesn’t it? That’s because it pretty much is. Things You Need Before Starting the Look to the Sky Quest Here’s what must be done before you pick the quest: How to Actually Complete Palia Look to the Sky Quest? So, I’ve fully explained the quest solution here in a step-by-step process. Let’s jump in: Talk to Zeki About the Plan First things first – you need to chat with Zeki about this whole temple situation and his master plan for getting the Flow battery. Finding Zeki: The conversation sets up the whole quest, so don’t skip through it too quickly or you’ll miss important details about what you’re supposed to do at the party. Wait for Party Time (6 pm-12 am) This is the bit that trips most people up. You can’t just rock up to the party whenever you fancy – there’s a specific time window. Party timing: I spent ages wondering why nothing was happening before I realised I was trying to attend at the wrong time. The game doesn’t make this timing requirement obvious enough. Get to the Party and Find Eshe Once you’re in the right time window, talk to Zeki again, and he’ll take you to the anniversary party. At the party: The party atmosphere is quite nice, actually, but remember you’re there on a mission, not just to socialise. Distract Eshe So Zeki Can Work This is the trickiest part of the quest. You need to keep Eshe busy while Zeki does his sneaky business with the master key. Distraction tactics: The key is to seem natural about it. Don’t act suspiciously, or Eshe might catch on to what’s happening. Just be a friendly party guest who wants to chat. Complete the Mission After successfully distracting Eshe, Zeki should have what he needs. The quest will progress, and you’ll be able to move on to accessing the new temple with the Flow battery. Mission complete: What Happens After Completing the Quest, Look to the Sky. Completing this quest opens up the new temple area and continues the main storyline. You’ll be able to use the Flow battery to access previously locked areas and discover more about Palia’s mysteries. This quest also leads into Silver-winging It, which involves the Temple of the Gales, so it’s an important stepping stone in the main story progression. FAQs What time does the party actually start?  The party is available between 6 pm-12 am Palian time. You must talk to Zeki during this window to attend. What if I mess up distracting Eshe?  The quest should give you another opportunity. If not, you might need to wait until the next party window. Where exactly is this new temple?  The temple location will be revealed after completing the quest successfully. It’s part of the ongoing main story. Can I complete this quest during the day?  No, the party only happens in the evening/night timeframe. You’ll need to wait for the right time. Final Thoughts The Palia Look to the Sky quest is all about timing and playing your part in Zeki’s heist scheme. Once you know about the party timing requirements and how to properly distract Eshe, it’s actually quite entertaining. The 6 pm-12 am time window for the party, keeping Eshe distracted while Zeki works, and then gaining access to the new temple – that’s your complete roadmap. It’s a fun change of pace from the usual fetch quests, and the party atmosphere is well done. Plus, it sets up some interesting temple exploration content for later. To complete the Palia Look to the Sky quest successfully, you must show up at the right time and play your role as a distraction convincingly.

Palia Brick by Brick Quest: Complete Guide & Walkthrough

palia brick by brick quest

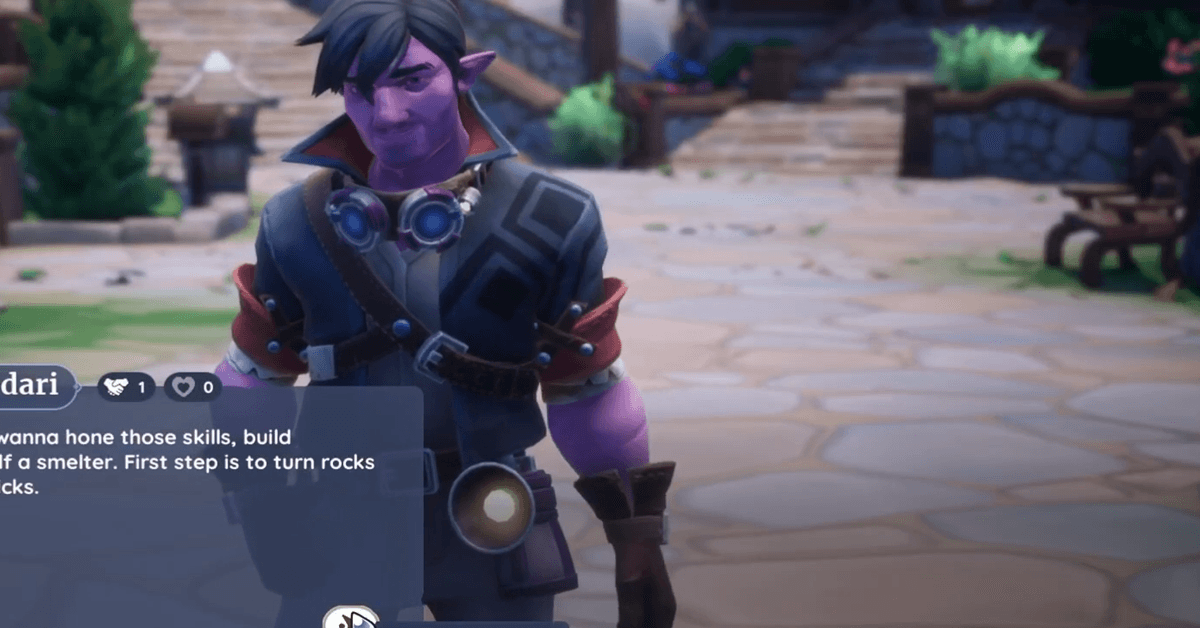
The Palia Brick by Brick quest had me scratching my head because nobody bothered explaining where to actually find Hodari to get the Stone Smelter recipe. And you are definitely having the same issue, right? Or maybe you’ve got the Stone Smelter but can’t figure out how to use the thing properly. This quest seems simple enough, but there are a few things that’ll trip you up if you don’t know what you’re doing. Let me save you the headache I went through. What’s Brick by Brick Quest Actually All About? This is one of your first proper crafting quests in Palia, and it’s all about getting you set up with stone brick production. You’ll need stone bricks for loads of building projects later, so it’s worth getting this sorted early. The quest basically wants you to learn how to make stone bricks using a Stone Smelter. Sounds straightforward, but the game doesn’t hold your hand through the process. I thought it’d be a five-minute task, but it took me nearly an hour because I couldn’t find Hodari initially. What You Need Before Starting the Brick by Brick Quest Make sure that you have all of the below listed stuff: How to Actually Complete Palia Brick by Brick Quest? Here’s exactly what you need to do to complete the quest: Find Hodari to Get the Stone Smelter Recipe This is where most people get stuck initially. Hodari’s the mining specialist, but finding him can be a real pain if you don’t know his routine. Where to find Hodari: Talk to him once you hit Mining Level 2, and he’ll give you the Stone Smelter recipe. Simple enough, but getting to Level 2 mining takes a bit of grinding if you haven’t been at it already. Craft and Place Your Stone Smelter Once you’ve got the recipe from Hodari, you need to actually make the Stone Smelter and stick it on your plot. Crafting requirements: The placement bit is important – some people craft it, then forget to put it down. The quest won’t progress until it’s properly placed on your plot. Craft Your First Stone Brick Now comes the fun part – actually using your shiny new Stone Smelter to make a brick. Stone brick crafting: The Stone Smelter works like most processing machines in Palia – input goes in one slot, finished product comes out of another. Dead simple once you know how it works. What Happens After Brick by Brick? Completing this quest opens up stone brick production, which you’ll need for various building projects throughout the game. It’s also a prerequisite for several other quests, including the Happy Housewarming quest chain. The stone bricks you can make are useful for upgrading your house and crafting other items. It’s worth keeping your Stone Smelter running regularly. FAQs What Mining Level do I need for Brick by Brick?  Mining Level 2. You can’t get the Stone Smelter recipe from Hodari until you reach this level. Where exactly is Hodari located?  He moves around, but check the mines in Kilima Valley first. If he’s not there, try the village centre or other mining areas. Can I craft stone bricks without completing this quest?  No, you need the recipe from Hodari first. The quest is essential for unlocking stone brick crafting. How long does it take to make a stone brick?  Just a few seconds in the Stone Smelter. It’s not a long process once you’ve got everything set up. Final Thoughts The Palia Brick by Brick quest isn’t actually complicated once you know what you’re doing. The main challenge is just finding Hodari initially and remembering to place your Stone Smelter on your plot. Get your Mining Level to 2, find Hodari for the recipe, craft and place your Stone Smelter, then make a brick. It’s worth completing early because stone bricks are useful for loads of building projects later in the game. Plus, it sets you up nicely for the other housing and crafting quests that follow. You must remember that Palia Brick by Brick quest success comes down to having the right mining level and knowing where to find Hodari when you need him.

Palia Come Clean Quest – Full Walkthrough

palia come clean quest

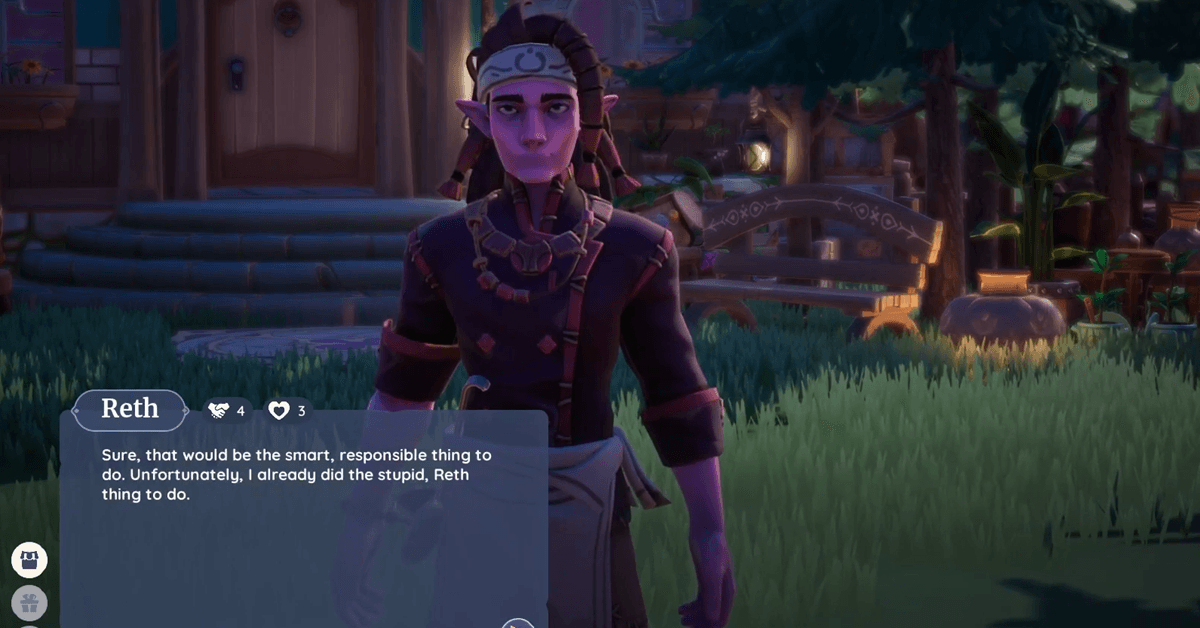
The Palia Come Clean has been quite a challenging quest for me. I was searching Bahari Bay for three hours because Reth can’t give decent directions to save his life. You’re probably here because you’re stuck, too, right? Maybe you’ve been running around in circles trying to figure out where he’s hidden his dodgy packages. This quest doesn’t explain itself properly, and the cave location is absolutely mental to find without help. But I’ve cracked it now, so let’s get you sorted. What’s This Come Clean Quest About? Reth’s finally decided to stop being a sneaky git about his smuggling operation. About time, really. When you hit Romance Level 3 with him, you get this choice where you can either help him come clean to Ashura or help him cover his tracks. Pick “I really think you should tell Ashura the truth,” and you’re doing Come Clean. The other option gets you Cover It Up instead. I went with Come Clean because watching Reth squirm felt right. Plus, someone needed to talk sense into the lad. What You Need Before Starting the Come Clean Quest You will need to work on these things before you can get the quest: How to Actually Complete Palia Come Clean Quest? Here’s exactly what you need to do without all the faff. Find the Hidden Cave in Bahari Bay This is where everyone gets stuck. Reth mentions packages hidden in Bahari but gives you sod all for actual directions. The secret location: I walked past this entrance about twenty times before I spotted it. The game designers must’ve had a right laugh making it this hidden. Collecting Reth’s Packages Once you’re in, you need three packages scattered around. They’re not exactly gift-wrapped and waiting for you either. Package hunting tips: The packages blend in with the cave debris, which is properly annoying. Take your time and check every nook. Return the Packages After collecting all three packages, head back and follow the quest markers. You’ll get to watch Reth finally tell Ashura the truth about his side hustle. It’s actually quite satisfying seeing him grow up a bit. Plus, you get decent rewards for your trouble. Cover It Up vs Come Clean – What’s the Difference? If you picked “I’ll help you move the merchandise” instead, you get Cover It Up. Same package collecting, different story outcome. Come Clean: Reth tells Ashura the truth, character development happens. Cover It Up: You help Reth stay sneaky, different relationship path Both quests work fine. Pick whatever feels right for your character. FAQs Can I change my mind after picking a dialogue option?  Nope, you’re locked in once you choose. Finish the quest to progress Reth’s storyline. What if I genuinely cannot find the cave entrance?  Go to the ruins exactly halfway between Hideaway Bluffs and Windy Ruins. The entrance is in the cliff face – looks like an old mine shaft. How long does the Come Clean quest actually take?  Maybe 15-20 minutes once you know where everything is. Finding the location initially is what takes forever. Do I need special tools or items?  Nope, just your character and maybe better screen brightness. No crafting required. FInal Thoughts Look, the Palia Come Clean quest isn’t actually hard once you know the cave location. It’s just that the game gives you alternate directions and expects you to figure it out yourself. The cave entrance between Hideaway Bluffs and Windy Ruins – that’s your golden ticket. Find that, grab three packages, and watch Reth finally act like an adult. Job done. It’s worth doing if you’re invested in Reth’s character. Watching him come clean to Ashura feels like proper character development instead of him staying the same sneaky smuggler forever. Just remember that Palia Come Clean quest success comes down to patience and knowing exactly where that cave is hidden.

Eye of the Storm Palia Quest – Full Walkthrough

palia-eye-of-the-storm-quest

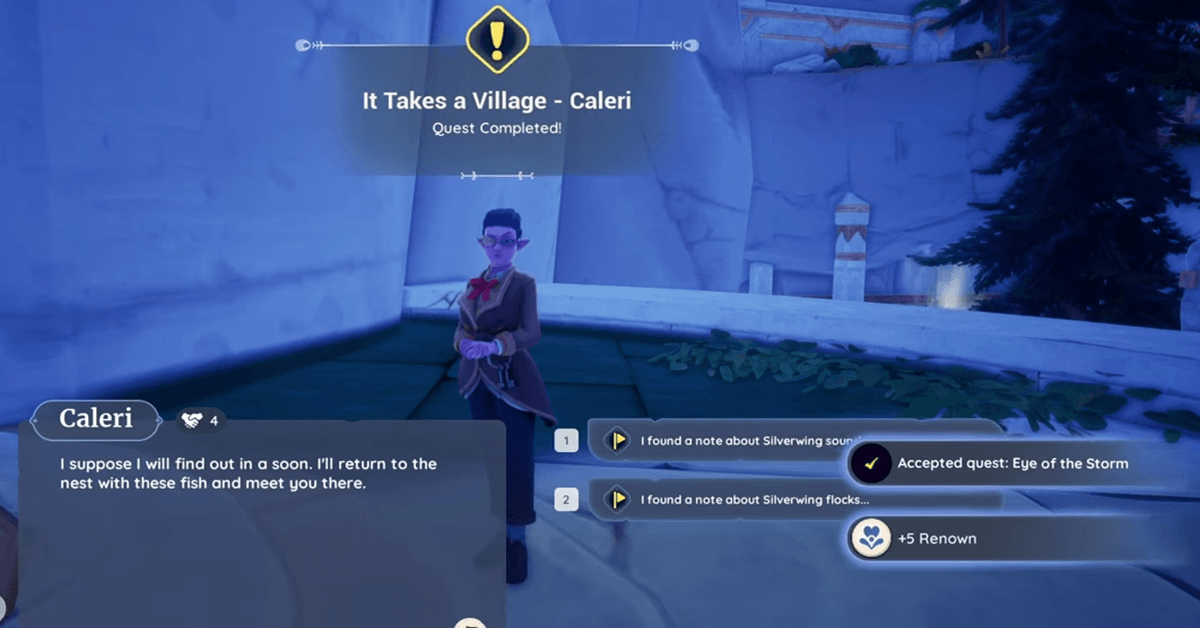
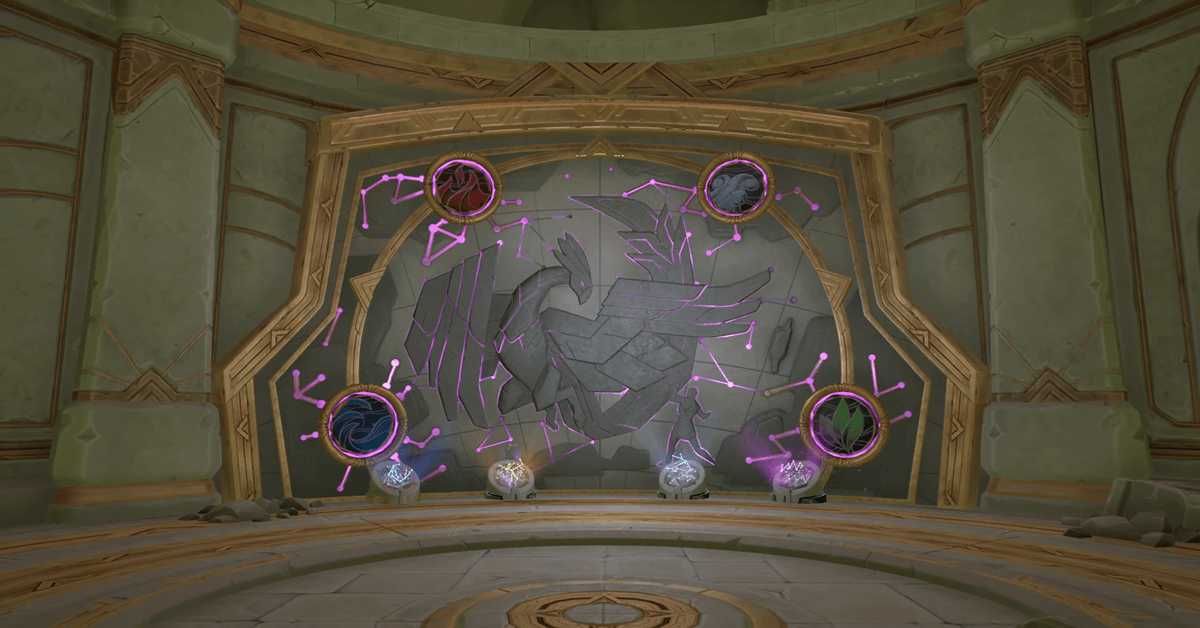
Eye of the Storm is the final quest in the Temple of the Gales questline in Palia. You will get this quest after finishing the Silver-winging It!, which is the main quest. Also, you must complete side quests for Caleri, Elouisa, and Zeki.  Make sure that you collect all the special items, such as  Silverwing Eggs, Ancient Flowbugs, and Ancient Cloudminnow. This is actually the requirement to unlock the quest. After that, you can start the final challenge. On the last island, there will be a puzzle waiting for you to solve. As you make progress in the quest, it will reveal more about the Temple of the Gales. You will get to know what happened to the researchers trapped inside and discover the fate of the Silverwings, magical creatures tied to the temple. Now, here is a detailed guide to get you through every step. How to Solve Eye of the Storm Quest in Palia This quest involves several steps, and you have to complete each one in the exact manner as I have explained below. It will then become a lot easier for you to finish off the quest and move forward to the next part. Talking to Zeki on the Main Island And Reaching the Last Island Go to Zeki and speak to him. He will explain how to use the strong air currents to reach the last island. These currents work like natural gliders. They will lift you and carry you across the air. Zeki will also warn you that the next steps are tricky, so listen carefully.Now, stand by the big air current and jump up to open your glider. The wind will lift you smoothly and push you forward. You need to balance a little as you ride the air, follow the currents along the path. These currents lead directly to the last island. When you land, look around for a large gold door with a glowing blue center. This door blocks your progress. You cannot open it yet. Activating the Flow Gate & Obtaining the Lockpick Tool Near the door, you will find a device called the Flow Gate. Walk up to it and interact with it. You will see magic surrounding the door, and it starts to glow. The gate might look like it is unlocked, but not yet. Zeki informs you that you need a special tool, a lockpick, to open the door. Don’t worry, the tool is quite close to your current location.  Turn away from the door and look to your left; you will see thick vines growing up a wall. Climb those vines carefully. Once you reach on top, face towards the floating stone platforms. They will be hovering in the air and have gaps between them. Time your jumps and glides well. Just make sure that you don’t fall; otherwise, you have to go for it again.  After crossing the stones, you will reach a tall pillar. Go around it. Look for air currents near a curved metal grate. Use these currents to lift yourself to a balcony. Climb another grate on the balcony to get to the upper floor. Keep jumping over more stones and grabbing vines. This path leads inside a small building. Go inside and turn left. On the floor, you will see a glowing item; it is actually the Flow Generator Fragment. This fragment works as the lockpick tool. Pick it up and move forward.  Giving the Lockpick Tool to Zeki Exit the building and carefully jump off the ledge. Open your glider to fly toward the compass marker on your screen. This marker points to Zeki. You will have to meet him and give him the Flow Generator Fragment. He uses it to unlock the gold door quickly. The door will creak open, and you can enter the temple. Solving the Sliding Puzzle Head inside the temple room, and you will see a large wooden board covered in tiles. This is the sliding puzzle. The goal is to move the tiles to create the correct picture. It may take a few tries for you to get it right. You will have to think carefully before each move. When you finish, a hidden door opens. This leads you deeper into the temple. Rewards for Completing the Quest Completing the sliding puzzle finishes the Eye of the Storm quest. You will unlock four new vault bundles in the Night Sky Temple located in Kilima Village. These vaults contain rare treasures and rewards. After this, you unlock the next quest, Vault of the Gales. To start, find Zeki inside the temple and talk to him. Finishing the quest also earns you the Bewildered in the Wild accomplishment. You get 60 Renown points total. Thirty points come from completing the quest, and thirty points from the accomplishment.

Palia Bundles Guide & Items List – Track Your Items Easily

palia bundles complete guide

Exploring the world of Palia is always fun, the questlines take you to new places where you discover the secrets of the villagers and grow a connection with them. Some quests, such as the one at the Night Sky Temple, relate to the Palia bundles.  These are the items that players collect and return to their temple to get the rewards. Night Sky Temple has 4 vaults in total, and each one of them has 4 bundles of items.  Now, collecting these items is the real deal. Different items are required in different amounts, and you must collect all the items in each bundle to get the rewards. It can be a bit confusing to track them, so we have prepared a list below that you can use as a tracker.  Palia Bundles Items & Where to Find Them Palia Bundles are basically related to the quest “Vault of the Waves”. After finishing the quest “Echoes of the Unknown,” you will be given this vault quest. You will come across an ancient device that’s more like a stone.  That’s when you will get to know about the bundles, leading you to collect the required items for each bundle.  Let’s kick off with the first Vault of the Waves.  Vault of the Waves This is the very first vault, and it has 4 bundles. For each bundle, there are specified items that come from multiple categories. This vault is based on the Fish Constellation, which gets unlocked upon completing Vault of the Waves.  Spooky Bundle Items – How to Get Them This bundle is all about catching various creatures. Your bug-catching and fishing skills will come in handy here.  1x Garden Mantis: This usually spawns near the Kilima Lake area. Morning and daytime are the best times to hunt them.  1x Vampire Crab: The best spot to find them is near the Flooded Fortress in Bahari Bay. Visit this area during the evening and nighttime.  1x Mutated Angler: You can find them specifically in the Pavel Mines within the Bahari Bay. Worms can be a good choice to use as bait.  1x Void Ray: Pavel Mines and The Underground are the two best spots to catch a Void Ray.  On completing this bundle, you will get the following rewards:  Beach Bundle Items – How to Get Them Now, to get the items for this bundle, you will need to explore a beach. Bahari Bay is a perfect spot for this. Multiple skills will be required to get all the items. 1x Green Pearl: This is obtained from an Unopened Oyster, but the chances are pretty low. So you might have to open multiple of them.  1x Stripshell Snail: Bahari Bay and Flooded Fortress are two spots where you can find these snails in the evening.  1x Blue Marlin: These are fished at the Bahari Coast using a worm as bait.  1x Sushi: This can be prepared using the required ingredients. The recipe is found in a bottle in ponds.  Once you have collected all the items of this bundle, you will get the following rewards:  Freshwater Bundle Items – How to Get Them This is the third bundle and requires multiple skills, including fishing and bug catching. 1x Inky Dragonfly: Rivers and Ponds near the Bahari Bay can be explored to catch them.  1x Trout Dinner: This is a cooking item, and you will need to have the recipe and required ingredients for this. The recipe is obtained by reading a book in Einar’s Cave.  5x HydratePro Fertilizer: These are available on the General Store. You will need to use the Gold.  1x Giant Goldfish: These are found in the ponds and require a Glow Worm to be caught.  Completing this bundle will give you the following rewards:  Magic Bundle Items – How to Get Them This bundle of items requires mostly fishing skills. Here are the items you need for this bundle.  1x Fisherman’s Brew: This is a cooking item, and you will first need to purchase the recipe from Einar’s Fishing Guild and then prepare it with the required ingredients.  1x Enchanted Pupfish: This is found in the Kilima Lake, and you will need to use a Glow Worm as bait.  1x Shimmerfin: These are also found in the Kilima Lake. Use a regular worm to catch it.  1x Long-Nosed Unicorn Fish: Head to the Bahari Coast and use your fishing skills to catch this one.  Complete this bundle and get the following rewards:  Upon completing this vault, you will get the accomplishment “Something’s in the Water”. And an Ancient Fish will also be given as the reward. Vault of the Flames In this vault, Kitsune Constellation needs to be unlocked, which gets done by completing the quest A Catalyzing Caper. The vault has 4 bundles in total, and each bundle will give you the rewards upon completion. Let’s dive in and see the list of items.  Flamerod Bundle Items – How to Get Them 1x Radiant Sunfish: This fish is found in Kilima Rivers, and you can catch it at any time using a worm. 1x Flametongue Ray: This one also lives in the Kilima Rivers. Use a Giant Worm to catch it.  1x Striped Sturgeon: Head to Kilima Lake and throw your bait into the water, don’t forget to use a worm.  1x Downray: This fish is found in the Bahari Rivers and doesn’t require any bait.  Complete the bundle and get the following rewards:  Emberseeker’s Bundle Items – How to Get Them  6x Emberseeker Bundle: These are 6 medallions, the first one is obtained from Jina when you finish the quest, Vault of the Flames. The other 5 are obtained from Bahari Bay. They are in the treasure chests. Explore around and find all 5 of them.  Upon collecting these, you will get the following rewards:  Brightbug Bundle Items – How to Get Them This is another bundle from Vault of the Flames. It has 4 items, and all 4 require bug-catching skills.  1x Bahari … Read more

Cover It Up Palia Quest – Full Walkthrough

cover it up palia quest

Cover It Up is a romance quest in Palia. Alongside the main and friendship quests, we have romance quests as well. Such quests help players build up connections with different villagers. You will also get other types of quests, such as Proof of Magic and Silver Winging It. These are the main quests.  Villagers in Palia are always up to something, and this time, Reth is in need of your help with some of his illegal stuff. He wants you to pick up some shipments and hide them somewhere safe.  The quest is assigned once you have reached the level 3 romance, Dangerous Dalliance. You will have several things to do to finish up the quest successfully. If you are also having a hard time, then follow this full walkthrough.  How to Solve the Quest Cover It Up in Palia Reth is going to assign you a task, asking you to cover up his criminal act of transporting some illegal shipments. Previously, Reth somehow successfully covered his acts with a lie, but Ashura didn’t believe him, and he started keeping an eye on him.  Now, Reth is under the radar of Ashura, and he must keep things fully secret. So, he is temporarily changing the locations of his stuff. You are going to help him out with this.  Speak to Reth & Get the Quest Once you have reached the level 3 romance, Dangerous Dalliance, you can speak to Reth right on your base spot. He will visit you and describe the whole scenario.  What you wanna do is select the dialogue option “I’ll help you move the merchandise”. This will allow you to receive the Cover It Up quest. And now you are involved in Reth’s illegal shipment stuff.  Pick up the Three Shipments Now that we have the quest, it’s time to roll on and grab those secret packages. We are heading straight to Reth’s storeroom, which is, as we all know, located in the basement area of Ormuu’s Horn Inn. This is in the Kilima Village.  You will find the shipment packages in the hallway of this store. The hallway is actually taking you to the doorway with a dead end. You will find the hallway instantly to the left when entering the storeroom. Grab all three packages from there, and you are ready to hide them at a different location.  Hiding the Shipments at Bahari Bay There is a secret hidden spot close to the Bahari Bay. It’s actually a hidden alcove that is located between Hideaway Bluffs and Windy Ruins. You will have to look for a cliff wall at this spot, there is an entrance to the cave here.  Enter the cave and deliver the goods in there. And your part of transporting the Reth’s shipments to the new base is done.  Speak to Ashura and Reth Now, you will return to your home spot and have a conversation with Ashura. He will mention that he has found out what you have been doing in the Bay Area for Reth. He will also mention that Hodari told him you were sneaking at the Baharir Bay.  At the end, he will tell you to bring Reth to the right path and hand you some dinner.  Now, you will have to meet Reth at his storeroom and talk about the whole conversation that happened between you and Ashura. Reth knows, and he will even advise you not to stay too close to him, otherwise you will also get ruined.  But you will have to choose the options to stay up with his things, and you will carry on with the conversation. At the end, Reth will be happy that you are with him no matter what.  This ends the quest, and you will get the following rewards: Fried Catfish Dinner (During Quest), 30 Renown, increased romance with Reth, Reth’s Pin, and 5 boxes of Chocolates.  That’s the full walkthrough for the Palia quest, Cover It Up. 

Wares in Low Places Palia Quest – Full Walkthrough

wares in low places palia

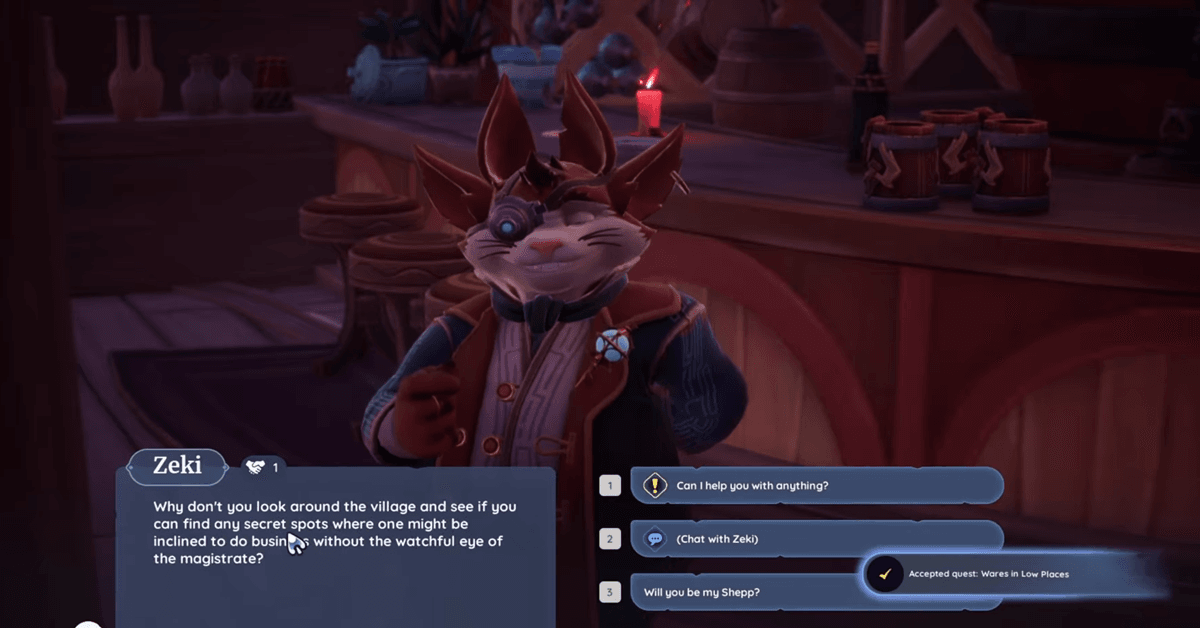
Wares in Low Places is the very first friendship quest in Palia, which is given by Zeki. The world of Palia is full of secrets and hidden spots. You have to find one such spot that is related to Zeki’s top-secret dealings.  Zeki thinks that you are not interested in his general stuff, so he offers you something more valuable, but you have to find out his secret place where he sometimes makes illegal deals.  This spot is hidden from Eshe so that the most secret deals can be made without getting the attention of the magistrate. The quest gives you a simple task, just explore the hidden black market of Zeki and get back to him to finish the quest.  How to Solve the Quest Wares in Low Places in Palia This is just the beginning of your friendship with Zeki, so he wants to introduce you to a secret place where most of the greatest items are found and top-secret deals are made during nighttime.  You will get plenty of other friendship quests as well, such as The Heist and Overdue Books. As for the Wares in Low Places quest, it is linked with the Underground black market, which is located near the Remembrance area. Zeki wants you to discover this place so that you can purchase various rare and epic items in the future.  But you cannot access the black market until you have found its hidden entrances. Also, the market only becomes accessible at specific times during the night.  Speaking to Zeki & Finding the Secret Black Market  When you speak to Zeki at his General Store, he will think that you are not much interested in this stuff, so he offers to check out his high-value items in a hidden spot called the Underground.  This is somewhere close to Kilima Village, Zeki sells most of his top-class items here, items that can be considered illegal in Eshe’s opinion. So, they have to sell them secretly without getting noticed.  There are three total entrances that take you to the Underground black market. The first one is right into Zeki’s General Store. For this entrance, you will need to go behind the counter and look for the bookshelf on the lower floor. There is a loose book that works as the switch that reveals the entrance. But for now, it won’t work until you have found the other entrance.  So, the next entrance is in the Kilima Valley. Just head to the Remembrance Garden area and go beneath it, the secret entrance will be disguised as the Sewers Entrance. Now, you just need to speak to Zeki to access the Underground.  While you speak to Zeki, he will mention the reasons for setting up this hidden marketplace. He just wants to stay undercover and hidden from Eshe, otherwise, all of his stuff will be confiscated by her.  Now, Zeki will hand over to you the key for the entrances, and he will also give you some gold that you can spend on the items in the black market.  There is a third entrance as well. This is located in the Reth’s Storeroom, but it will only become accessible after you have completed a specific quest for him. For now, you can use these two entrances.  So, that’s how we finish up the quest Wares in Low Places in Palia. You may also be interested in our walkthrough of Cover It Up quest.

The Heist Palia Quest – Full Walkthrough

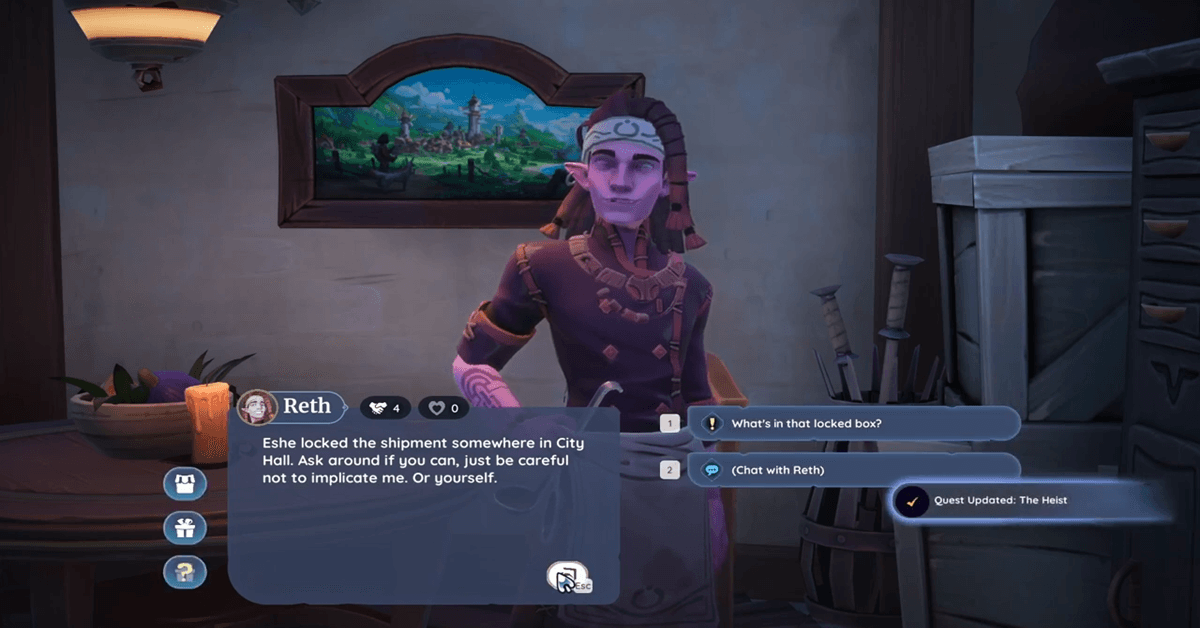
The Heist is another friendship quest in Palia, assigned by Reth. This can only be received if you have reached Level 4 Friendship: Clandestine Confidant with him. We have plenty of other friendship quests as well, like Overdue Books and Survivor’s Guilt. These are given by different villagers, and their main purpose is to increase your friendship level with a specific villager and obtain valuable items as rewards.  In this guide, our primary focus is the Heist quest. Reth is experiencing some serious troubles right now as his super important shipment is taken away by Eshe, and he wants your help to retrieve it.  Solving the Heist Quest in Palia Reth sends you a mail, expressing his concerns about a big problem he ran into, and now he wants you to meet him at the secret spot.  It’s actually all about the cargo shipment that has been seized by Eshe due to some issues. It is locked in the City Hall, and you have to find a way to enter the hall and get your hands on the shipment.  Lastly, you will be required to hand over that package to Reth. The problem is that the City Hall is locked. I have covered the full walkthrough that helps you unlock the hall and collect the package.  Meeting Reth at the Secret Spot Upon receiving the letter from Reth, you will see that he asks you to meet at the Secret Spot. This is the same spot where he meets during the quests Piece of Cake and Mystery Cargo.  The Secret Spot is actually the Reth’s Storeroom, located in the basement of the Ormuu’s Horn Inn within the Kilima Village.  When you meet him, he will mention that Tish is sick. And more importantly, he has tried all sorts of medications from the town, but nothing worked out. So, he made a deal with the cartel to get the stuff for her treatment.  The real issue is that the package is in the custody of Eshe for some investigation. He asks you to obtain that shipment from the City Hall and bring it back to him.  Obtain the Keys of the Storeroom and Get the Package Now, there are three different characters from whom you can get help. Eshe, Kenli, and Kenyatta. If you take help from Eshe or Kenli, then they both will give you a copy of the key for the storeroom.  And if you ask Kenyatta for help, then she will send you a letter to return to her, and she will hand you the package herself. Regardless of which character you choose for help, you should have level 3 friendship with them. Otherwise, they won’t help you.  Now, if you choose Eshe or Kenli, you will get a copy of the key. Now, simply head to the storage room of City Hall and unlock it. The package will be placed on a small table just by the window in front. Collect the package and head back to the Reth.  Give Back the Shipment to Reth With the retrieved package, it’s time to return to meet Reth in his storeroom. When you give him the package, he will be surprised to know that you really did it for him and obtained it so easily.  Just after a bit of conversation, the quest will be finished, and you will get the following rewards: Reth’s Lucky Stew Pot, 30 Renown, and Sort of Sous-Chef accomplishment.  That’s how you solve the Heist quest in Palia. For more guides and updates on Palia, you can follow us. We have also prepared a full guide on the Wares in Low Places Quest.

Survivor’s Guilt Palia Quest – Full Walkthrough

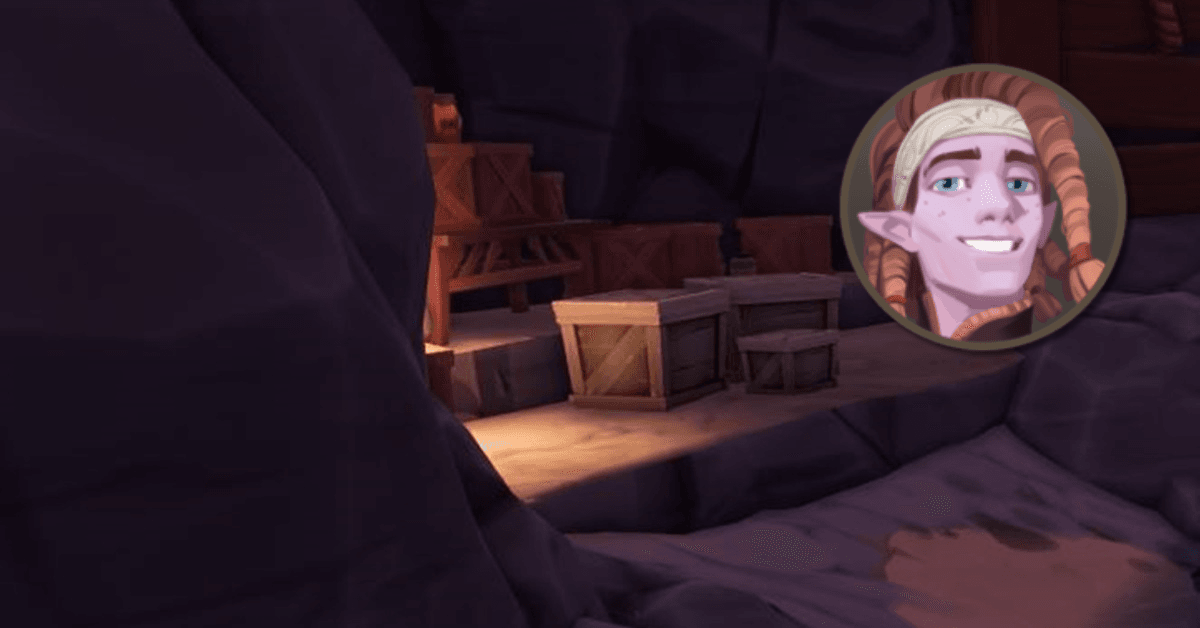
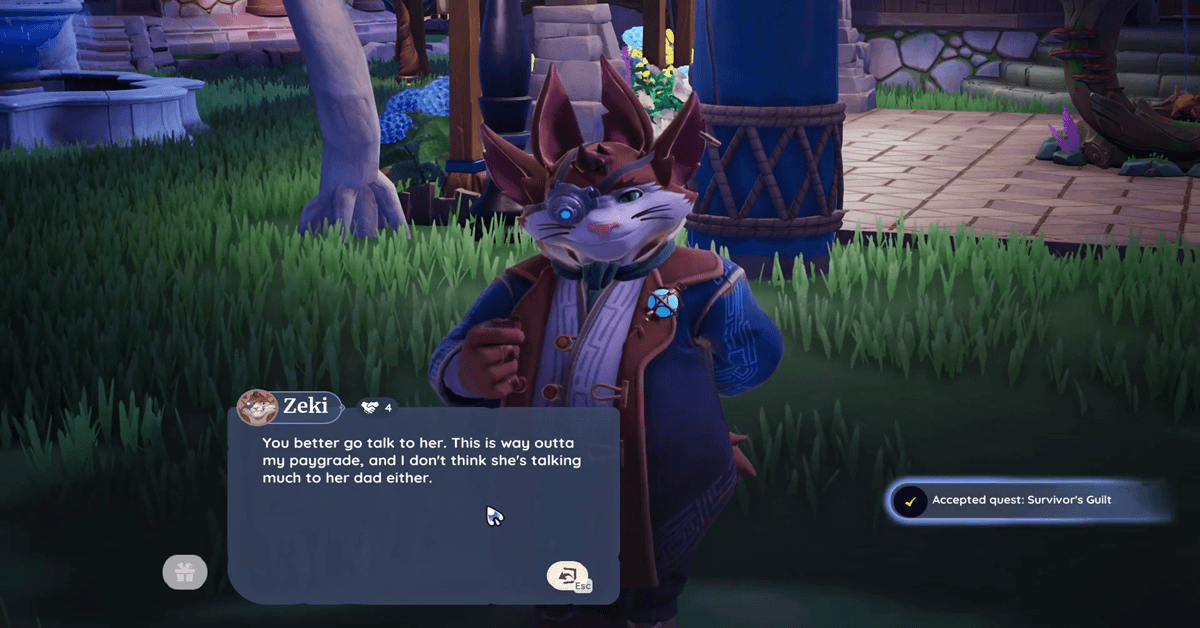
Survivor’s Guilt in Palia is a friendship quest for Zeki’s friendship. The quest is related to Najuma, and Zeki is kinda worried about her. So, you will speak to her and talk about her issues.  Then you will collect some important blueprints regarding the inventions and return them to Hodari. These blueprints will be at different spots. And you can either get the hints or follow my walkthrough for a better approach.  Palia has so many friendship quests to offer, which are related to different villagers in the town. Overdue Books and Pursuit of the Truth are also the friendship quests. These quests are perfect for leveling up your friendship with multiple characters.  Solving Survivor’s Guilt Quest in Palia Survivor’s Guilt is a friendship quest that you solve to level up your friendship with Zeki. Najuma is the main character in this quest, as you want to check up on her and sort things out.  You will also meet Hodari during the quest, and he will assign a task to collect Leta’s blueprints. This part is what makes most of the players a bit confused since these old blueprints are hidden in different parts.  But, you don’t have to worry as I have covered all the exact spots from where you can get them.  Speak to Zeki & Visit Najuma in Her Room Zeki shows up at your place, and he presents his concerns regarding Najuma. He would ask you to visit Najuma and help her out with things.  Upon visiting Najuma in her room, players will talk about the mines with her. She will mention that her designs are almost finished, and then her dad will let her in. After a bit of conversation regarding her obsession with these mines, this part will be over, and Hodari will show up with some good news that will help Najuma a lot.  Speak to Hodari and Collect Waterproof Lantern Blueprints Hodari will come to your spot, and he will appreciate that you spoke to Najuma. But he also mentions that he wants to help her, and he should be the one caring for her. Currently, Najuma is not speaking to him.  So, he asks for your help in this regard. He wants you to find out some of the missing Leta’s Old Blueprints so that he can give them to her. This will sort out the issues.  Now, it’s time to find out those 5 blueprints. The first one is Lantern Blueprint. This can be found in the area behind the Old Lighthouse. Go around the lighthouse, all the way to its back, and look for the wooden barrels. The blueprint will be sitting on the floor between the barrels.  Propeller Bluprints For the Propeller Blueprint, you will need to check the backside area of Hodari and Najuma’s house. There are some wooden crates, and the blueprints will be sitting right on them.  Rebreather Blueprints These blueprints are hidden in an underground mine in the Bahari Bay area. This mine can be found east of Hideaway Bluffs. Jump down the underground opening and move forward.  Just a little ahead, you will see some stuff lying on the floor on the left side. By this stuff, the required blueprints will also be sitting on the floor.  Communicator Blueprints For these blueprints, you just need to speak to Zeki. He can be found in his room. Just after a short conversation, he will give you the blueprint.  Mechanical Chapaa Blueprints This blueprint is a bit challenging to find. You will need to hunt down the Chapaa’s in Kilima Village and Bahari Bay. The blueprint will be randomly dropped by any of the Chapaa. So, you may need to hunt down multiple Chapaa’s before you can get the blueprint.  Once you have found all 5 blueprints, get back to Hodari and speak to him. He will be happy for your help in finding all the missing blueprints.  The quest will be finished, and you will get the following rewards: 30 Renown, Mechanical Chapaa, and Mechanical Chapaa recipe.  Once you have completed the quest, Najuma will also send you a letter in which she seems to be happy and thankful for your help in completing her design.  So, that’s all for the Survivor’s Guilt Palia quest walkthrough. You can also check out our guide on the Lost in the Wind and The Heist quest.

Overdue Books Palia Quest – Full Walkthrough

palia overdue books quest

Friendship quests are great for building your connection with characters in Palia. Overdue Books is one of the many other friendship quests that you will get.  The quest, Overdue Books, is given by Caleri once you have attained level 2 friendship with her. You must have finished the Manners, Manners quest to get this one.  As you make progress in the game, you will get plenty of other friendship quests as well, such as Pursuit of the Truth, which is assigned by Subira.  As for the Overdue Books, it is pretty simple and easy to solve, players just need to get the three books of Caleri from different people and return them to Caleri. In order to get those books, each person will assign you little tasks that you must complete. Let’s jump into a full walkthrough.  How to Solve Overdue Books Friendship Quest in Palia We all know about Caleri, she is a librarian, and that’s why people from all over the town borrow books from her. This time she has given three different books, and those books are overdue now.  Kenyatta, Jina, and Auni are the borrowers. If Caleri won’t get the books back, she will be dismissed from her position as a librarian. That’s why she gives you this quest to help her out and grow your friendship level.  Get the Book from Kenyatta – History of Plants So, for this first book, the quest will take you to Kenyatta. Upon speaking to her, you will find out that she has given the book to Nai’o. So, you will get a subquest from Kenyatta, which is called History of Plants.  You will get the location of Nai’o. Now you just have to head to the exact location and speak to Nai’o. Once the dialogue is finished, you will get the book On the History of Plants.  Get the Book from Jina – Kilima Valley Treasures Now, it’s time to get the second book. For this book, you will be directed to Jina. Speaking to her will reveal that she has somehow lost the book near the Phoenix Shrine, and hence, you will get a new subquest called Kilima Valley Treasures, which is also the name of the book.  Head straight to the Phoenix Shrine and find the Temple of the Waves. Look for a rock just before the temple, and the book will be placed on it.  Get the Book from Auni – Garlic Gopher Now, the last book is obtained from Auni, but in return, you will have to do a simple task for him. The book is called The Adventures of Jainn. When you speak to Auni about it, he assigns the task of bringing him 3x Wild Garlic.  Now, you can either buy them or grow them at your place. Get those 3x Wild Garlic and hand them over to Auni. He will, in return, give you the required book.  Now that you have got all three books, head back to Caleri and return the books. This will finish the quest. Eventually, you will get the rewards, 5x Sernuk Hide, 5x Leather, 300x Gold, 2o Renown, and increased friendship with Caleri.  So, that’s how you solve the quest Overdue Books in Palia. You may also be interested in the Survivor’s Guilt Quest guide. We have prepared a full walkthrough on that as well.