Palia It Must Flow Quest Full Guide: Hodari’s State-of-the-Art Grill
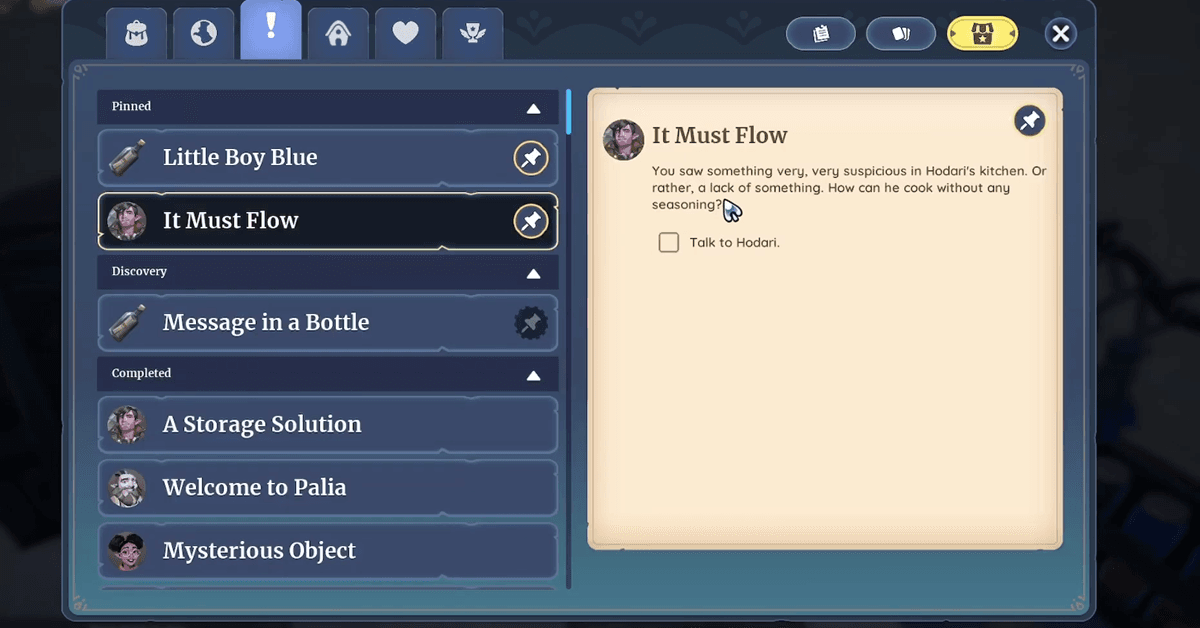
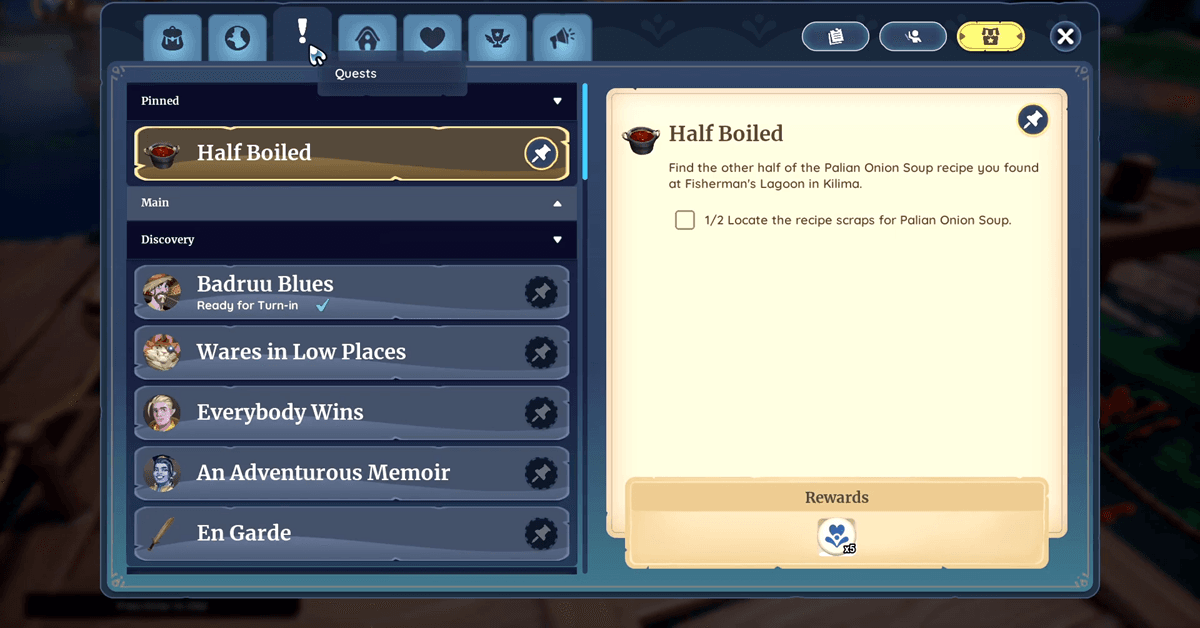
The Palia It Must Flow quest is one of the most fun discovery quests. It will take you on to the culinary adventures in the game, where you will get challenging tasks of hunting down five scattered spices. This is to help Hodari properly season his cooking, and it will also result in earning yourself a premium grill at the end. So, if you are having a hard time grabbing all those missing spices, then I’m here to help you out. I have fully finished this quest and received the grill. And now you can follow this guide to finish the quest. There are a few other discovery quests as well, such as Hunger Pains. They are quite the same in terms of their theme. These quests are related to kitchen stuff, such as recipes and other kitchen items. How to Complete Palia It Must Flow Quest Discovering the Missing Spices This is the first step that will get you the quest, It Must Flow. You will be required to visit Hodari’s kitchen and notice the suspicious absence of any seasoning or spices. Once you do this, it will automatically start the quest. You will get the task to locate five specific spices scattered throughout Bahari Bay. Hunting for Five Special Spices Now, it’s your job to explore Bahari Bay and get those five spices. Each spice is hidden at a unique spot, which will require your exploration techniques to discover them all. Here are the five required spices: Ground Longcorn Pepper Location To get the Longcorn Pepper, navigate to the Beachcomber Cave vicinity and search the surrounding cave areas for this essential spice ingredient. This pepper is typically found near cave entrances or within easily accessible cave sections. Ground Tubetree Bark Location This specific spice will be near the river area. Just travel to Proudhorn Pass and follow the river system. The bark spice appears alongside the riverbank, and that is why it is relatively straightforward to spot once you’re in the correct area. Yellowpop Mustard Seeds Location Head to Windy Ruins and locate the geyser cave entrance. Once inside, search the carpeted areas where the mustard seeds have been placed. Some players report difficulty finding these seeds in square E9 on the map, so search thoroughly if they don’t immediately appear. Ground Zingroot Location Travel to Hideaway Bluffs and enter the mine system. Search the mining tunnels and chambers for the Ground Zingroot spice, which appears as a collectible item within the underground areas. Everyspice Location Navigate to the Windy Ruins exterior area and look near the Temple of the Gales. The spice appears on the cliffside edge where the cobblestone pathway transitions to natural terrain, making it a distinctive landmark for location identification. Returning the Spices to Hodari & Seasoning Tonight’s Dinner Now that you have successfully picked up all the spices, it’s time to bring the spices back to Hodari and accept his invitation to a properly seasoned dinner, between 8 pm and 11 pm. The time requirement adds a scheduling element to quest completion. Season tonight’s dinner to perfection! Participate in the dinner event where your collected spices finally bring proper flavour to Hodari’s cooking. Finishing the Quest & Receiving Hodari’s Grill Upon successful dinner completion, Hodari rewards you with his state-of-the-art grill, a valuable cooking equipment upgrade that enhances your culinary capabilities throughout the game. Frequently Asked Questions How do I start the It Must Flow quest? To begin the quest, you will be required to visit Hodari’s Kitchen. There you will see that he is missing some spices for his dinner. This will automatically initiate the quest. Where exactly are all five spices located? You will find all of the missing spices at the Bahari Bay. They are scattered around at different spots. You must search for them individually and collect all of them before you can finish the quest. Follow the procedure I have mentioned above. What time do I need to attend Hodari’s dinner? Once you have grabbed all the missing spices, you can attend the dinner party at Hodari’s place. This will occur in between between 8:00 PM and 11:00 PM in-game time. What reward do I get for completing this quest? Completing the quest will reward you with a state-of-the-art grill, a premium cooking equipment upgrade for your home. Also, you will receive Renowns and an increased friendship with Hodari. Can I complete this quest at any level? Yes, there is no level requirement to complete the quest, but you should have full access to Bahari Bay so that you can hunt for spices easily. What if the Mustard Seeds won’t spawn? There is a possibility that you won’t find the Mustard Seeds on the first visit due to an in-game glitch. So, you can try leaving the area, restarting the game, or checking back at different times. Do I need special equipment to collect the spices? No, there is no requirement for any special tool. You just need to pick all of them like the regular collectible items. Can I collect the spices in any order? Yes, you can pick the spices in any order that you like. Just make sure that you get all five spices before the dinner invitation. Is this quest time-sensitive once started? No, you can take as long as needed to collect the spices, though the dinner itself has a specific time window. Does this quest affect other storylines? The quest primarily strengthens your relationship with Hodari, which may open additional dialogue and future quest opportunities. The Palia It Must Flow quest delivers a satisfying blend of exploration challenge, character development, and practical reward that makes the spice-hunting adventure worthwhile whilst deepening your connection with one of Kilima Village’s most respected residents.