Animal Crossing Art Guide – ACNH Art (Fake & Original)
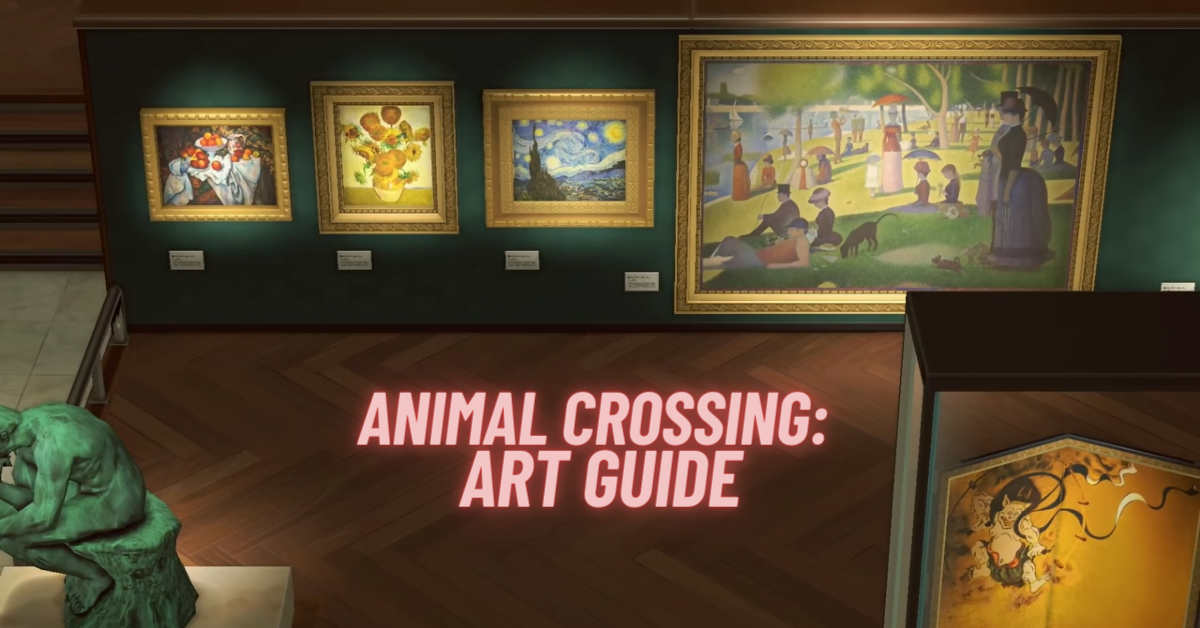
Arts were introduced in Animal Crossing on Earth Day which was held on April 23rd, 2020. These are displayed in the museum, but there is a catch. The game has some fake and original paintings and you should know how to differentiate between them. In this “Animal Crossing Art Guide”, we are going to discuss everything related to ACNH Art. Whether you wanna know where you can get these Animal Crossing paintings or you want to learn about original and fake art, this guide is going to tell you everything. So, let’s dive in. Animal Crossing Art – The Fake & Original Paintings in ACNH Paintings in Animal Crossing have a whole different mechanism running at its back. The game has not only the original paintings but you can also get the fake without even noticing. While there are dozens of paintings out there, most of them have their copies. These are actually obtained from either the villagers or purchased from Jolly Redd. In Animal Crossing, Redd is the only character who sells original art and sculptures. Difference Between Original & Fake Art While there are some noticeable spots between original and fake art, it can be a little tricky for beginners to catch them. Very minor details are missing in the fake ones and you can only see them if you already know. So, in order to see if the painting is fake you must know their differences. For instance, here are the differences between some of the famous paintings. These are the differences for most of the paintings. With these differences, you can save yourself from getting fake art. Animal Crossing New Horizons Art – ACNH Art List Animal Crossing has dozens of arts based on paintings and sculptures. These are used to showcase exhibits in Blathers Museum. You have to purchase them from Redd or receive them from villagers then simply hand them to Blathers. The arts in Animal Crossing include both paintings and sculptures. And both of these are accepted by Blathers but you have to make sure that they are real and not forged ones. Here is the list of all the arts in ACNH. Here we are done with the paintings, next, we have the list of all the sculptures. Now, these are all the arts that you can get in the game. Some of these were added after the paintings were introduced. And we may see some new additions as well in the future. Redd Animal Crossing New Horizons- How to Buy Art Jolly Redd is one of the special characters in Animal Crossing New Horizons. He is from those characters who visit your island occasionally just to sell out some hard-to-find items. Redd will only sell you art, these can be sculptures as well as paintings. During the initial visit, you can purchase an art from him without inspecting it. On the second visit, you can ask him to get on his boat where you can inspect the art before you buy it. And on the third visit, you don’t need to ask for permission, simply just get on his boat and check for the available art. At this time, you can inspect the art to see whether it’s real or forged. It is crucial to check for original and fake Animal Crossing art. Once you have made sure that the art is original, you can purchase it for 4,980 Bells. This price is the same for both original and forged art. Sometimes, you may get Animal Crossing art from villagers in your mail. But, they can also send you the forged art. Based on their personalities they can send either the fake or original art. Moreover, some of them can even send the sculptures. The arts will only be sent by the male villagers. Jock and Lazy villagers can send any art, it can be fake or original. Smug villagers will only send fake art while the Cranky villagers will only send sculptures that can be fake or original. FAQs Where is Redd in Animal Crossing? Jolly Redd visits your island randomly on his boat to sell you Animal Crossing art. The first time he visits your island will be when you have completed the construction of your museum. For this, you need to give a total of 60 bugs, fish, or fossils to your museum. Once it is done, Isabelle will make an announcement about a villager sailing around. Sometime after the announcement, you will see an Orange Fox on your island. That’s Jolly Redd. What to Do With the Art in Animal Crossing? The arts in Animal Crossing are mainly used to be donated to the museum for the exhibition. Moreover, it can be sold to Cranny’s for some money. But, only the original piece of art is accepted at the museum and at the Cranny’s. While the fake ones can be used for decoration purposes at your home, the statues can be placed anywhere on the island. However, you can get rid of the fake ones by disposing of them in the trash can since no one wants to purchase them. That’s everything for Animal Crossing Art Guide. Please stay connected with us for more exciting and informative guides on the latest and upcoming games.