Crafting Boost OSRS (Old School RuneScape): Full Guide
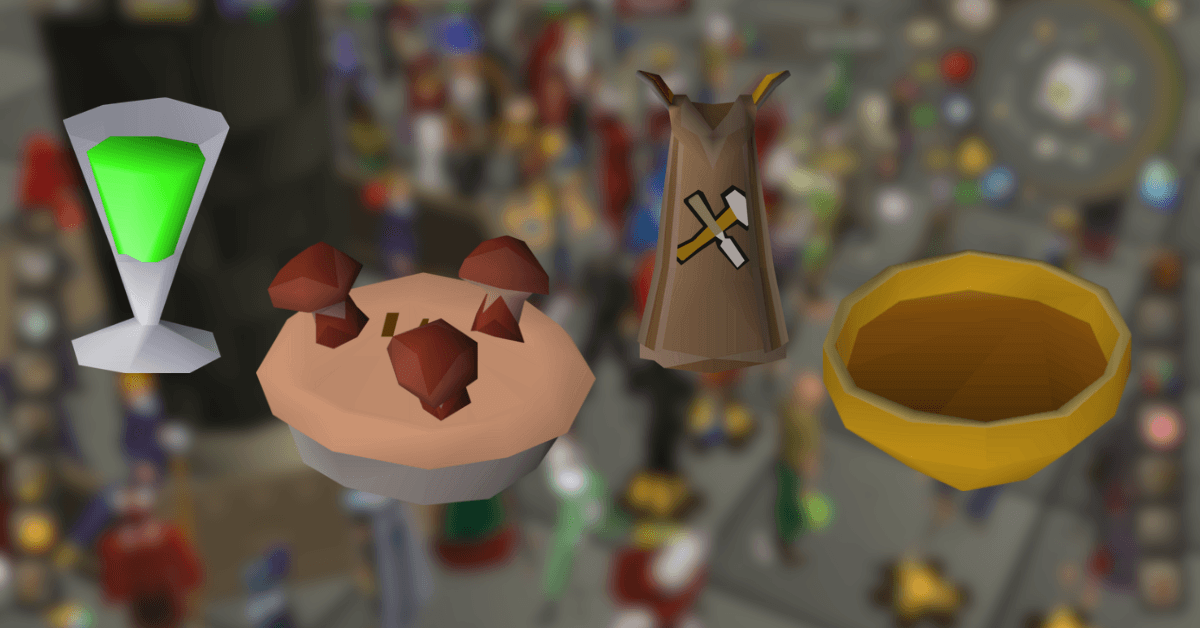
Crafting Boost in OSRS is no doubt the best feature when it comes to taking your crafting game to the next level. Without crafting items you are pretty much halting your progress. So, it’s necessary to keep working on your crafting levels. Aside from that, we have a crafting boost that gets activated temporarily by using various items. Now, if you are looking for details on these items then you are at the right place. This guide covers all the important details that you should know. Let’s dive in! Crafting Boost Items in OSRS In Old School RuneScape we have a total of 4 items that give you a crafting boost, and they also give various other stats boosts. Moreover, each one of them is obtained through a different method and has various requirements. Crafting Cape The most powerful crafting boost item is Crafting Cape and it’s also hard to get. It’s because it only becomes available when you have reached level 99 crafting. We all know it’s quite challenging to reach that spot. But, once you have done that, this Crafting Cape can be yours. It becomes available at the Crafting Guild, there will be an NPC Master Crafter who sells it for 99,000 coins. As soon as you have got the Crafting Cape, you will be granted the boosts. As for the crafting, you have the option to perform unlimited teleports to the Crafting Guild. Additionally, you will receive the defense stat boost. This will be different for trimmed and untrimmed versions of Crafting Cape. Poison Chalice Poison Chalice is a free-to-get crafting boost item. Just visit Stankers and get it from him. Drinking it will leave you with a random effect. Each effect has a different stat boost. Although you will get a random effect this is all based on chance. The top 3 effects based on the chances are You feel a lot better, You feel a little strange, and It has a slight taste of apricot. The first effect gives you healing of 15% of the total hitpoints and it also boosts your Thieving ability by 1. The second effect lowers attack, defense, and strength by 1 and boosts crafting by 1. The third effect has no boosts. Mushroom Pie This is another crafting boost item that also gives you a healing boost. It is the second-highest crafting boost item in OSRS. Consuming it will heal 16 hitpoints and you will also recieve a temporary crafting boost of 4. Now, to get this Mushroom Pie, you will need to prepare it at the Cooking Range. But you should have level 60 Cooking on you. Once you have access to Cooking Range, just bake the Uncooked Mushroom Pie and you will have Mushroom Pie that can be consumed. Spicy Stew (Orange Spice) Spicy Stew is the fourth and last crafting boost item in OSRS. This can be obtained by only those who have finished Freeing Evil Dave subquest in Recipe for Disaster. To prepare a Spicy Stew you will need to get the regular stew and spices. Now, do remember that each of the spice boosts different skills. For crafting boost, you will need to use Orange Spice with regular stew. Also, using the Spicy Stew doesn’t guarantee a boost. You can either get an increase or decrease in level by +5 to -5. It’s a totally random thing. FAQs What Can Boost Crafting OSRS? There are a total of four items that can be obtained and used to boost crafting in OSRS. Each item is obtained through a different method and has a different level of boosting. The best-boosting item is Mushroom Pie followed by Crafting Cape and Poison Chalice. And the last item is Spicy Stew. We have explained these items above in detail. What Spice Boosts Crafting in OSRS? It’s the Orange Spice that can boost the crafting in OSRS along with other skills. But, you know it’s quite random that you get the boost. Sometimes you may get a decrease in level. It is not guaranteed that you will receive a boost every time, it is totally random and you can receive it anywhere between +5 to -5.